A good budgerigar nest box isn't just a wooden box. Think of it as a carefully designed little sanctuary that speaks directly to your birds' powerful nesting instincts. As an expert in avian care, I can tell you the right design makes all the difference to your hen’s comfort, the safety of her eggs, and ultimately, the health of her chicks. It's the absolute cornerstone of responsible breeding in Australia.
Why a Proper Nest Box Is So Important
If you're thinking about breeding budgies here in Australia, getting the environment right is the first, most critical step. These vibrant little parrots, which many people call parakeets, have very specific needs that go right back to their wild origins.
(By the way, if you're ever confused by the names, you can get the full story on the difference between a budgie and a parakeet in our detailed guide.)
Out in the wild Australian bush, budgies depend on the safety and privacy of tree hollows to raise their families. A well-designed nest box is our best shot at recreating that secure space. It's not just about giving them a spot to lay eggs; it’s about making the hen feel protected and calm enough to settle in and focus on her job.
It's a Game-Changer for Breeding Success
The link between a nest box and breeding success is crystal clear. A box that’s too big, too small, or made from the wrong stuff can cause a whole heap of problems, from abandoned eggs and stressed-out parents to sickly chicks.
Here’s what really matters:
- Security and Instinct: A proper nest box is a dark, enclosed space. It mimics a natural tree hollow, which sends a clear signal to the hen: "This is a safe place to raise a family."
- Egg and Chick Safety: Simple features like a concave floor are a must-have. This little dip stops the eggs from rolling around, which means fewer breakages and better, more even incubation.
- Health and Hygiene: The right materials and design make cleaning much easier. This is crucial for stopping bacteria from building up, which could harm very vulnerable chicks.
- The Breeding Trigger: Often, just introducing a nest box is the main trigger that encourages a bonded pair to start their breeding cycle.
We know all this from watching budgies in their natural habitat. They're native to the drier woodlands and grasslands of Australia, where they've been thriving for millions of years. In these areas, about 17% of all Australian bird species rely on tree hollows for nesting, so these cavities are an incredibly important natural resource.
This guide will walk you through creating that perfect nesting environment, setting the stage for a healthy and happy budgie family.
Choosing the Perfect Budgerigar Nest Box Design
Picking out the right budgerigar nest box is about much more than just finding a wooden container. It’s like choosing the perfect cradle for future chicks. The design, material, and dimensions all play a huge role in encouraging your budgies to breed and making sure their offspring get a safe, healthy start in life.
When you're looking at materials, it's important to remember that not all woods are created equal, especially under the harsh Australian sun. Your choice will directly affect the nest's internal temperature, how long it lasts, and how safe it is for the birds.
Material Matters for Safety and Comfort
Solid, untreated pine and high-quality plywood are the top two choices among experienced breeders in Australia, and there are good reasons for it. Pine is a fantastic insulator, helping keep the box cool during those scorching summer days and warm on chilly nights. It’s also soft enough for the hen to chew and shape to her liking—a natural behaviour that helps her feel right at home.
Plywood gives you similar benefits but often holds up better against warping in humid weather. The trick is to make sure it's exterior-grade plywood. This type uses water-resistant glues that don’t give off harmful fumes. Steer clear of treated timbers, MDF, or particleboard at all costs; they’re full of chemicals that can be toxic to sensitive little birds.
Expert Advice: A sturdy, chew-resistant material is non-negotiable. A flimsy box can be quickly damaged by a determined hen, creating dangerous splinters or sharp edges that could injure her or the chicks. Always put safety before looks.
To help you decide, here’s a quick comparison of the most common materials you’ll encounter.
Budgerigar Nest Box Material Comparison
| Material | Durability | Insulation | Safety (Chew-Resistance) | Cost |
|---|---|---|---|---|
| Untreated Pine | Good | Excellent | Moderate - allows natural chewing | Low-Mid |
| Exterior-Grade Plywood | Excellent | Very Good | Good - more resistant than pine | Mid |
| Hardwood (e.g., Eucalyptus) | Superior | Good | Excellent | High |
| MDF/Particleboard | Poor | Poor | Poor - contains toxic glues | Very Low |
| Plastic | Very Good | Poor | Very Good | Mid-High |
While materials like hardwood are incredibly durable, and plastic is easy to clean, untreated pine and quality plywood hit that sweet spot of safety, insulation, and affordability that makes them ideal for most Australian breeders.
Getting the Dimensions Just Right
Size is a delicate balancing act. If a box is too big, a hen can feel insecure, and her eggs might get scattered and go cold. But if it's too small, it can lead to overcrowding as the chicks grow, raising the risk of them being accidentally crushed.
Experienced Aussie breeders have fine-tuned these dimensions over many years. A typical nest box used by local experts measures about 250mm high, 215mm deep, and 210mm wide. It’s often built from 9mm external plywood, which offers great durability and insulation. For more professional insights on nest box specs, the Budgerigar Breeders Association of South Australia forum is a great resource. This size gives the hen and a full clutch of chicks plenty of room without feeling like a cavern.
This infographic breaks down the core elements of a successful budgerigar nest box into three key areas.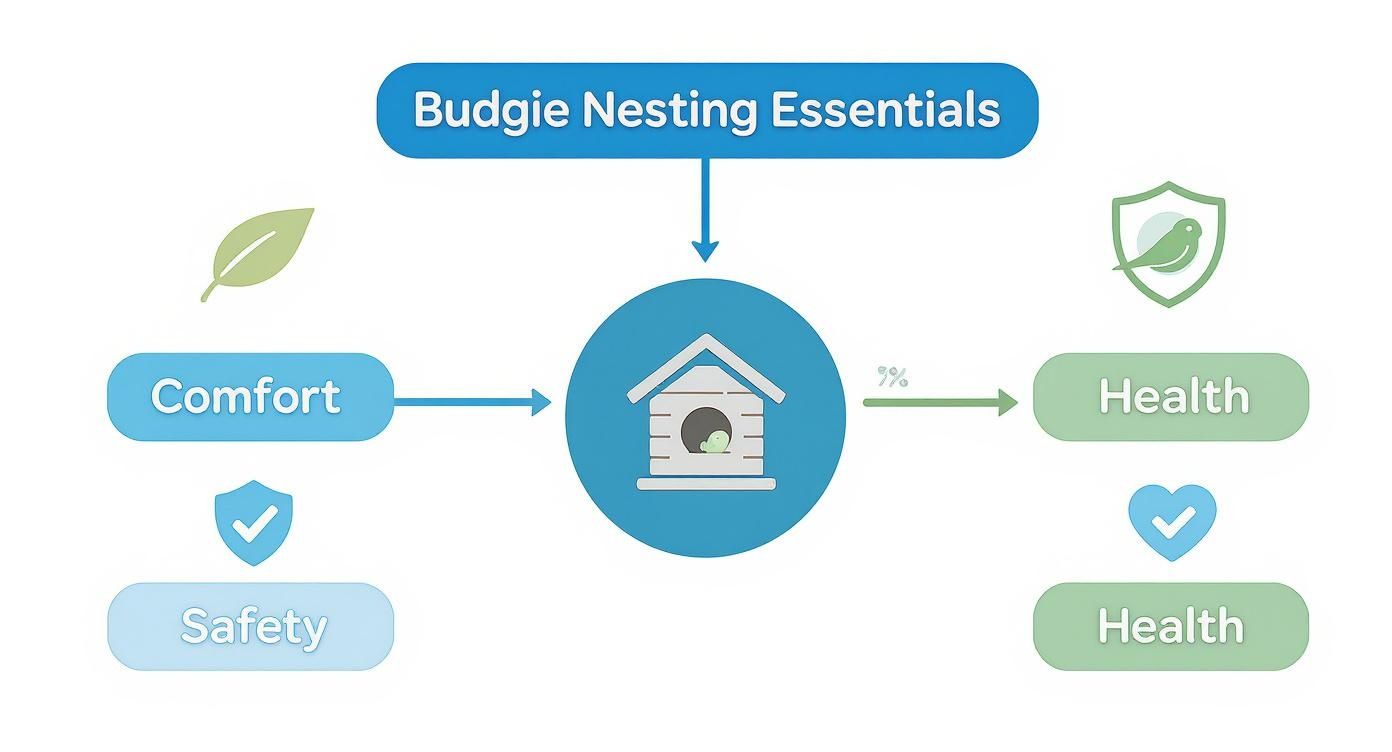
The visual shows that a successful nesting spot is a careful balance of comfort, safety, and health, with the nest box itself being the foundation for it all.
Essential Design Features for Success
Beyond the basic box shape, a few small but critical features can make all the difference. These are the details that separate a box that just works from one that truly excels.
-
The Concave Floor: This is probably the most important feature of all. The internal floor should have a gentle, shallow dip or "concave" right in the centre. This clever little design stops the eggs from rolling into the corners, keeping them huddled together so the hen can incubate them evenly and efficiently.
-
Entrance Hole Size: The entrance only needs to be big enough for the hen to get in and out comfortably, which is usually around 40-50mm in diameter. A smaller entrance helps the hen feel secure and protected from anything she might see as a threat outside the box.
-
Inspection Doors: A well-thought-out box will have a hinged lid or a side door. This lets you do quick, quiet checks on the eggs and chicks with minimal fuss. Easy access is also vital for giving the box a thorough clean between clutches.
By thinking carefully about these design points, you’re providing a space that taps into your budgie’s deepest instincts. This attention to detail doesn’t just encourage successful breeding—it ensures the wellbeing of the entire budgie family, from the parents to their precious new arrivals.
Installing Your Nest Box for Breeding Success
So, you’ve picked out the perfect budgerigar nest box. That’s a great first step, but where and how you install it is just as important as the box itself. Getting the placement right gives your hen that deep sense of security she needs to feel like this is a safe, stable spot to raise a family.
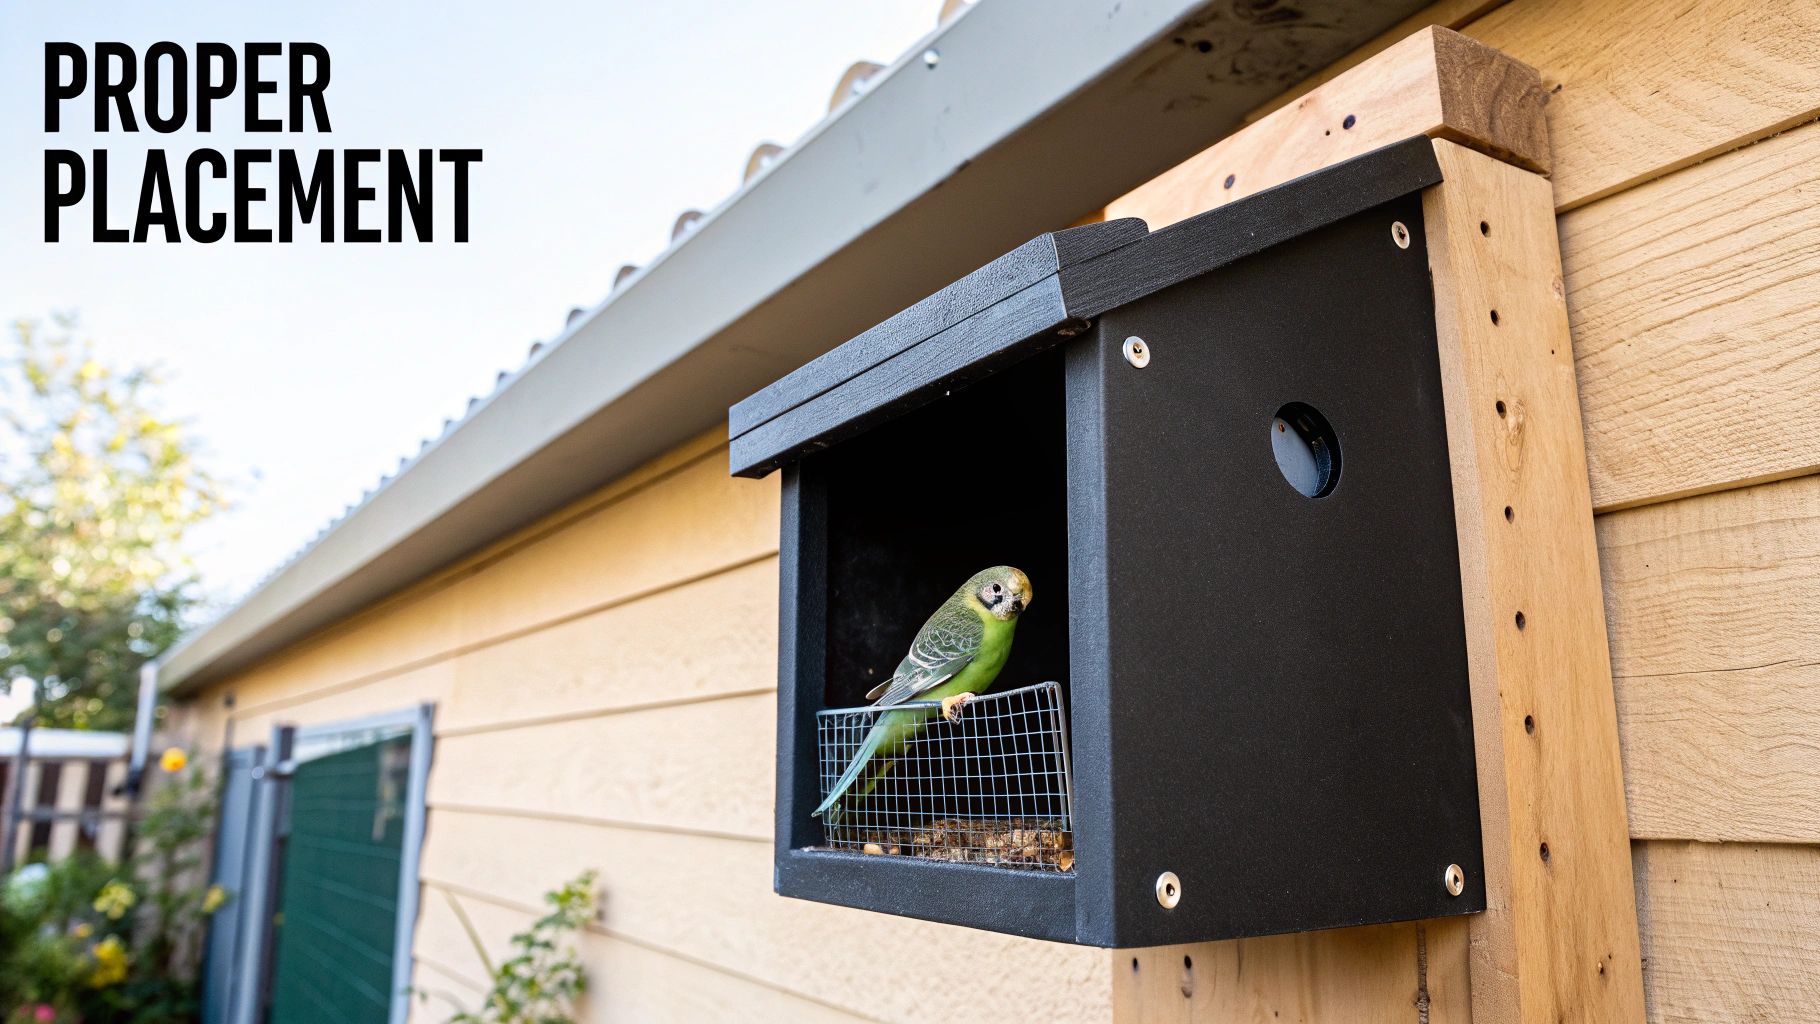
Think of it from a budgie’s perspective. In the wild, they’d be looking for a secluded, protected tree hollow. Your goal is to mimic that—a spot that feels sheltered from predators, nosy neighbours, and the weather.
Inside or Outside the Cage?
Most experienced Aussie breeders will tell you to mount the nest box on the outside of the cage or aviary, with the entrance hole accessible from inside.
This setup is a game-changer. It means you can check on the nest without sticking your hand right into their space, which keeps stress levels way down for the birds. It also makes cleaning a whole lot easier and less disruptive for everyone.
Of course, if your cage design just won’t allow for it, mounting it inside is fine. The key is still to place it high up and in a quiet corner.
Finding the Perfect Spot
Height and orientation aren’t just suggestions; they’re pretty much non-negotiable for success. Budgies are hardwired to feel safer up high, so placing the box as high as you can in the cage or aviary is a simple trick that works with their natural instincts.
Keep these placement factors in mind:
- Height: Always go for the highest practical point. It makes the birds feel secure from anything happening at ground level.
- A Quiet Corner: Position the box away from high-traffic areas, food and water bowls, and the busiest perches. Privacy is everything for a nesting hen.
- Protection from the Elements: If your aviary is outdoors in Australia, make sure the entrance isn’t facing the harsh afternoon sun or prevailing winds. Overheating or a nasty draught can be fatal for chicks.
Expert Advice: Stability is everything. A wobbly or insecure nest box will make a hen incredibly anxious and stressed. Make sure it’s fixed firmly to the cage wires or wall with absolutely no movement. Any instability could be enough for her to abandon the nest entirely.
Step-by-Step Installation Guide
Getting your budgerigar nest box secured properly is straightforward once you know what you’re doing. Whether it’s going inside or out, a rock-solid mount is what you’re aiming for.
- Select Your Location: Choose that high, quiet spot we talked about. Double-check there’s a clear flight path to the entrance.
- Prepare Your Hardware: Most store-bought boxes come with hooks or screws. If not, some heavy-duty wire, metal hooks, or small brackets from your local hardware shop will do the trick to secure it to the cage bars.
- Attach the Box Securely: Fasten the box on tightly, then give it a gentle shake to test for any wobble or sway. It shouldn’t move at all.
- Provide a Perch: Add a small perch just below the entrance hole. This gives the male a handy spot to stand while feeding the hen and makes it easier for both to get in and out. You can find a great range of high-quality ladders and perches for your setup here.
- Watch Your Birds: Once it’s all set up, just observe. If your budgies are in breeding condition, they should start showing some curiosity and inspecting their new home within a few days.
Preparing The Nest and Managing The Breeding Cycle
With your budgerigar nest box securely in place, the real fun begins. Now, your role shifts from builder to nurturer, and the goal is to create a welcoming space that encourages your birds to start their family. Preparing the nest and getting the timing right are your next big steps.
This part isn’t about construction; it's about adding those final, comforting touches. It’s about sending a clear signal to your hen that this new addition is safe, cosy, and the perfect spot for her precious eggs.
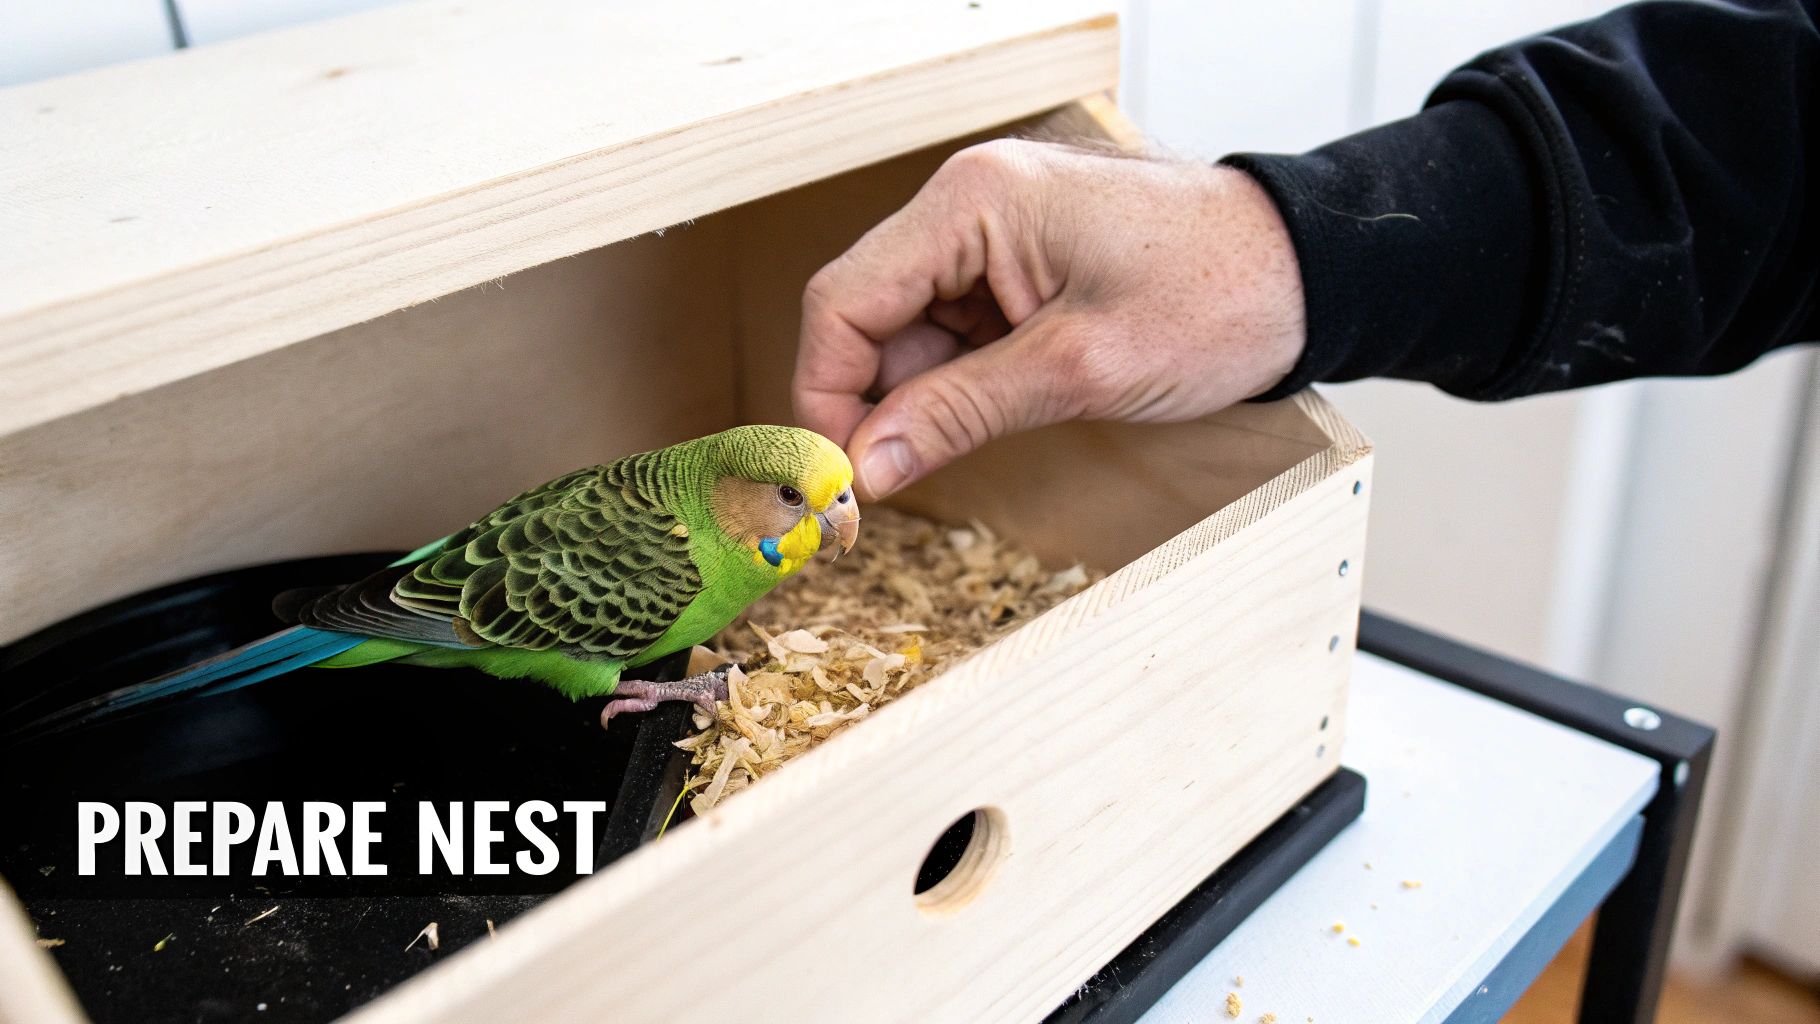
Setting The Stage With The Right Nesting Material
Unlike many other birds, budgies aren't fussy nest builders. Out in the wild, a hen simply lays her eggs on the soft, decomposed wood dust she finds at the bottom of a tree hollow. Your job is to mimic this simple, natural bedding.
The best material, by a long shot, is untreated pine shavings. It's soft, absorbent, and feels just like their natural environment. You only need a thin layer—about 2-3 centimetres deep—just enough to cushion the concave base. This provides a soft bed for the eggs, helps absorb moisture, and stops them from rolling around.
It's crucial to avoid certain materials:
- Cedar shavings: The aromatic oils in cedar are toxic to budgies and can cause serious respiratory problems.
- Sawdust: This stuff is far too fine. It’s easily inhaled by both the hen and her tiny chicks, which can lead to nasty health issues.
- Hay or straw: These materials can get mouldy very quickly in the humid environment of a nest box, posing a big health risk.
Don't be surprised if your hen enthusiastically kicks out most of the shavings you put in. This is totally normal. It’s just her way of arranging things just so. As long as a little bit remains in the concave, the eggs will be perfectly fine.
Recognising The Signs Your Budgies Are Ready
Timing is everything. You should only introduce the nest box when your pair is actually in breeding condition. Popping it in too early can just lead to frustration and disinterest. You need to look for a few key signs that your birds are ready to start a family.
For the Hen:
- Her cere (the fleshy bit above her beak) will turn a dark, crusty brown.
- She’ll become more assertive, sometimes even a bit bossy with her mate.
- You'll notice her chewing on everything more intensely—wood, cuttlebone, and her toys. She might appreciate a good chewable toy like our foraging shredder block at this time.
- She will start showing a keen interest in dark, enclosed spaces, peeking into corners or even her food bowls.
For the Cock:
- His cere will become a vibrant, deep blue.
- He’ll become incredibly attentive to the hen, feeding her frequently through regurgitation.
- His chirps will turn more energetic and song-like as he tries to court her.
- You might see him tapping his beak against objects to get her attention.
Expert Advice: A healthy diet is the absolute foundation of a successful breeding season. Well before you even think about introducing the nest box, make sure your pair is on a high-quality diet packed with vitamins and minerals. This gets them physically ready for the demands of laying eggs and raising chicks.
The Breeding Cycle: What To Expect
Once the hen accepts the nest box and lays her first egg, a predictable and fascinating cycle kicks off. She will lay an egg roughly every second day, usually resulting in a clutch of 4 to 6 eggs, though sometimes more.
Incubation typically starts after the second or third egg is laid, and each one takes about 18 days to hatch. Because they are laid on different days, the chicks will also hatch at different intervals. The new chicks are unbelievably tiny, blind, and completely dependent on their parents.
The chicks stay in the nest box for about 4 to 5 weeks before they’re ready to fledge, or leave the nest. During this time, the male is a very busy dad. He’s responsible for feeding the hen while she incubates and, later on, helps her feed the growing chicks. To keep the male happily occupied, giving him engaging toys like this shreddable natural nest toy can be a great way to channel his energy while the hen is busy.
Maintaining Nest Box Hygiene and Safety
A clean budgerigar nest box isn't just about being tidy—it's one of the most important things you can do for the health of your birds. Think of it as a nursery for newborn babies. For tiny, vulnerable chicks with their immune systems still developing, a pristine environment is their best defence against the nasty bacteria and diseases that love to grow in a warm, enclosed space.
Good hygiene isn’t a chore you do once and forget. It's a fundamental part of being a responsible breeder, and setting up a solid routine before, during, and after each breeding cycle is non-negotiable. This simple habit prevents waste from building up and drastically cuts the risk of infections or pests, making sure the nest box stays a sanctuary, not a health hazard.
Your Essential Cleaning Checklist
Keeping a nest box clean is an ongoing job, not a one-off task. The trick is knowing when and how to clean at different stages of the breeding cycle, so you keep things safe without stressing out the family inside.
A practical schedule makes all the difference:
- Before Breeding: This is your deep-clean moment. Scrape out every last bit of old debris, give the inside a good scrub with a bird-safe disinfectant, and rinse it thoroughly. The box absolutely must be 100% dry before you hang it up. Any dampness is an invitation for mould to take hold.
- During Nesting: Once the hen is sitting on eggs, your motto is "disturb as little as possible." Light cleaning, like carefully removing a heavily soiled patch of nesting material, should only be done if you really have to, and only when the hen is out of the box for a break. Keep a close eye out for any signs of pests during this time.
- Between Clutches: After the last chick has left the nest (fledged), it’s time for another deep clean. Pull out all the old nesting material and droppings, then scrub and disinfect the box just like you did at the start of the season. This completely resets the environment, making it safe and ready for the next clutch.
Here’s a simple schedule to help keep track of your nest box cleaning duties, tailored for the typical Australian breeding season.
Budgie Nest Box Cleaning Schedule
| Timing | Task | Key Considerations |
|---|---|---|
| Pre-Season | Deep clean and disinfect | Scrape all old material, scrub with F10SC, and ensure it's bone dry before installation. |
| During Egg Laying | Visual checks only | Avoid disturbing the hen. Check for pests like mites around the box entrance and joints. |
| While Raising Chicks | Minimal spot cleaning | Only if absolutely necessary. Remove heavily soiled bedding when parents are out. |
| Post-Fledging | Full clean-out and reset | Remove all contents, scrub, disinfect, and air dry completely before the next clutch. |
| End of Season | Final deep clean and storage | Clean thoroughly one last time before storing it away in a dry, pest-free location. |
Sticking to a schedule like this takes the guesswork out of nest box maintenance and ensures a healthier outcome for your flock.
For a wider look at bird health and creating a safe home for them, our essential guide to caring for pet birds offers some great insights that go hand-in-hand with your breeding preparations.
Safe Cleaning and Pest Prevention
Picking the right cleaning products is crucial. Your everyday household chemicals can leave behind toxic fumes or residues that are incredibly dangerous for birds. Always, always use a veterinarian-approved, bird-safe disinfectant. A favourite among Australian breeders is a diluted F10SC Veterinary Disinfectant—it’s powerful against a whole range of pathogens but gentle enough not to cause irritation.
Pests, especially red mites, are a breeder's nightmare. These tiny vampires feed on the blood of nesting birds and their chicks, usually at night, and can quickly weaken or even kill a whole clutch.
Here’s how to stay one step ahead of them:
- Regular Inspections: Get into the habit of checking the nest box, paying close attention to any cracks or corners. You’re looking for tiny red or grey specks, which could be the mites themselves or their droppings.
- Preventative Dusting: Before the hen starts laying, you can lightly dust the corners and floor of the box with a bird-safe insecticidal powder.
- Clean Surroundings: Pests don't just appear out of thin air. Keeping the main cage or aviary spotless makes it much harder for them to get a foothold and find their way into the nest.
Physical Safety and Predator Proofing
Beyond germs and pests, the physical state of the nest box itself needs a regular once-over. Before every breeding season, run your hand along the inside surfaces. Feel for any splinters, sharp edges from where the birds have been chewing, or any nails poking through that could injure a hen or her chicks. If you find any rough spots, just sand them down until they're smooth and safe.
For anyone with outdoor aviaries in Australia, predator-proofing is deadly serious. Snakes, butcherbirds, currawongs, and even goannas can be a real threat to a nesting family. Make sure your aviary wire is a small gauge so predators can’t reach through. Mounting the nest box on the inside of a secure aviary, rather than the outside, adds a vital layer of protection, making it far more difficult for a predator to get to the entrance hole. A secure home gives your birds the peace of mind they need to raise a healthy clutch.
Troubleshooting Common Nest Box Issues
Even with the best-laid plans, things can go sideways in the world of budgie breeding. When you’re dealing with the powerful instincts of these little birds, you’re bound to hit a few bumps in the road. This guide is here to help you navigate some of the most common issues Australian breeders face with their budgerigar nest box, offering sensible and humane solutions.
Don’t panic if your hen seems to be giving her brand-new nest box the cold shoulder. It’s a surprisingly common scenario, and it rarely means you’ve failed. More often than not, it's a simple fix related to her feeling comfortable and confident in the setup.
The Unused Nest Box
One of the first things to check is the box's location. Is it placed high up in a quiet, undisturbed corner of the cage or aviary? A hen will flat-out reject a box if it feels too exposed or if there's too much foot traffic nearby. Also, give the box a gentle nudge—if it wobbles even slightly, she won’t feel it’s a secure place for her future family.
Another factor could be the pair themselves. Are they truly bonded and in breeding condition? Look for the classic signs we've discussed, like the hen's dark brown cere and the male's attentive, doting behaviour. Sometimes, a pair just isn't the right match, or they simply aren't ready to start a family yet. Patience is absolutely key here.
Expert Advice: A classic mistake is getting too involved. Constantly peeking, moving the box around, or swapping out the nesting material will only make a hen anxious. Once the box is installed correctly, the best thing you can do is step back and give the pair the space they need to investigate it on their own terms.
Breeding Problems Inside the Box
Once the hen claims the box and lays her eggs, a new set of potential challenges can pop up. Knowing how to respond calmly and correctly is crucial for the wellbeing of your birds.
-
Eggs Not Hatching (Infertile or Addled): If eggs go past the 21-day mark without a single pip, they may be infertile. This can happen with young, inexperienced males or even older birds past their prime. Sometimes, low humidity—especially in dry Australian climates—can cause chicks to get "stuck" inside the shell. If infertility is a persistent problem with a particular pair, you might need to rethink the matchup.
-
Neglected or Abandoned Chicks: A hen might abandon her chicks due to stress, inexperience, or illness. Constant disturbances are a primary cause of this. If you find chicks that are cold to the touch or have empty crops, you may need to intervene by moving them to a foster nest with another broody hen. The other option is hand-rearing, which is a massive commitment and not for the faint of heart.
-
Aggression Between the Pair: While the male usually feeds the hen dutifully while she's on the nest, sometimes aggression can flare up. He might become overly territorial, or the hen might refuse to let him anywhere near the box. This can be caused by stress, incompatibility, or a feeling that their territory is threatened. If the aggression gets severe, you may need to separate the pair to prevent injury.
If you are dealing with a sick chick or parent, it is vital to get advice from an avian vet promptly. Illnesses can spread like wildfire through a flock. Responsible breeding means always putting the health and welfare of your birds above everything else.
Your Budgie Nest Box Questions Answered
Stepping into the world of budgie breeding can feel a bit daunting, and it’s only natural to have a lot of questions. Here in Australia, with our unique climate, getting the right advice is even more important. This section tackles the most common queries we hear from budgie owners about their nest boxes.
We've pulled together expert advice to give you practical, straightforward answers, helping you create the best possible environment for your growing feathered family.
When’s the Best Time to Put a Nest Box Up?
In the wild, Aussie budgies typically get into the breeding spirit from late winter to spring, usually around August to October when the rains arrive. For our pet budgies living in a cosy, stable home, you can technically breed them any time of year, as long as the pair is healthy and in breeding condition.
That said, most experienced Aussie breeders aim for the milder temperatures of spring and autumn. The extreme heat of summer can be incredibly stressful for a sitting hen and her very delicate chicks. The golden rule is simple: only introduce the nest box when your pair is clearly ready and you’re fully prepared for the commitment of raising babies.
What Should I Put Inside the Nest Box for Bedding?
When it comes to nesting material, budgies are wonderfully low-maintenance. They don’t build those intricate nests you see other birds making, but they do need a soft, stable base for their eggs.
The ideal material is a shallow layer, about 2-3 centimetres deep, of untreated pine or aspen shavings. You just need enough to fill the concave bottom. This simple addition serves three crucial purposes:
- It provides a soft cushion for the eggs.
- It helps soak up moisture and droppings, keeping things cleaner.
- It stops the eggs from rolling around, which is vital for even incubation.
Expert Advice: Never, ever use cedar shavings. Their aromatic oils are toxic to birds. Sawdust is another one to avoid; it’s too fine and can be inhaled, causing serious respiratory problems for both the hen and her chicks.
How Often Should I Check Inside the Nest Box?
Less is more. The key to a calm and successful brood is minimal disturbance. A quick, quiet peek inside the box once a day is usually all you need. The best time for this is when the hen has popped out for a snack or to stretch her wings.
This brief check lets you monitor the eggs, see if any chicks have hatched, and quickly remove any infertile eggs or deceased chicks. Always make sure your hands are clean and dry before going anywhere near the nest. If you notice the hen is getting stressed by your daily peeks, cut back on how often you do it. Her peace of mind comes first.
Here at Lou Lou Bells Bird Toys, we’re passionate about providing safe, stimulating, and top-quality enrichment for your birds. From clever puzzles to natural perches, our toys are handcrafted right here in South Australia to support your bird's wellbeing. Explore our full range and give your feathered friends the best at louloubellsbirdtoys.com.au.
Disclaimer Summary:
The information in this article is general in nature and may include external links or resources not created by Lou Lou Bells Bird Toys. Every bird is unique, so we encourage you to seek personalised advice from your own veterinarian or avian specialist. For full details, please read our complete disclaimer here.