Before you even think about reaching for a bottle of bird mite spray, you need to be absolutely sure that's what you're dealing with. Misidentifying the pest means the treatment won't work, and the problem will only get worse.
Often, the first clue is your bird’s behaviour. A bird that's suddenly scratching like crazy or plucking at its feathers is trying to tell you something. Sometimes, the first sign is waking up with itchy, unexplained bites on your own skin.
Recognising a Bird Mite Problem in Your Home
Catching a bird mite infestation early is the difference between a minor annoyance and a full-blown nightmare. These pests are incredibly tiny and easy to miss, often looking like nothing more than specks of dust that move very, very slowly. You might not even realise they're there until their numbers explode.
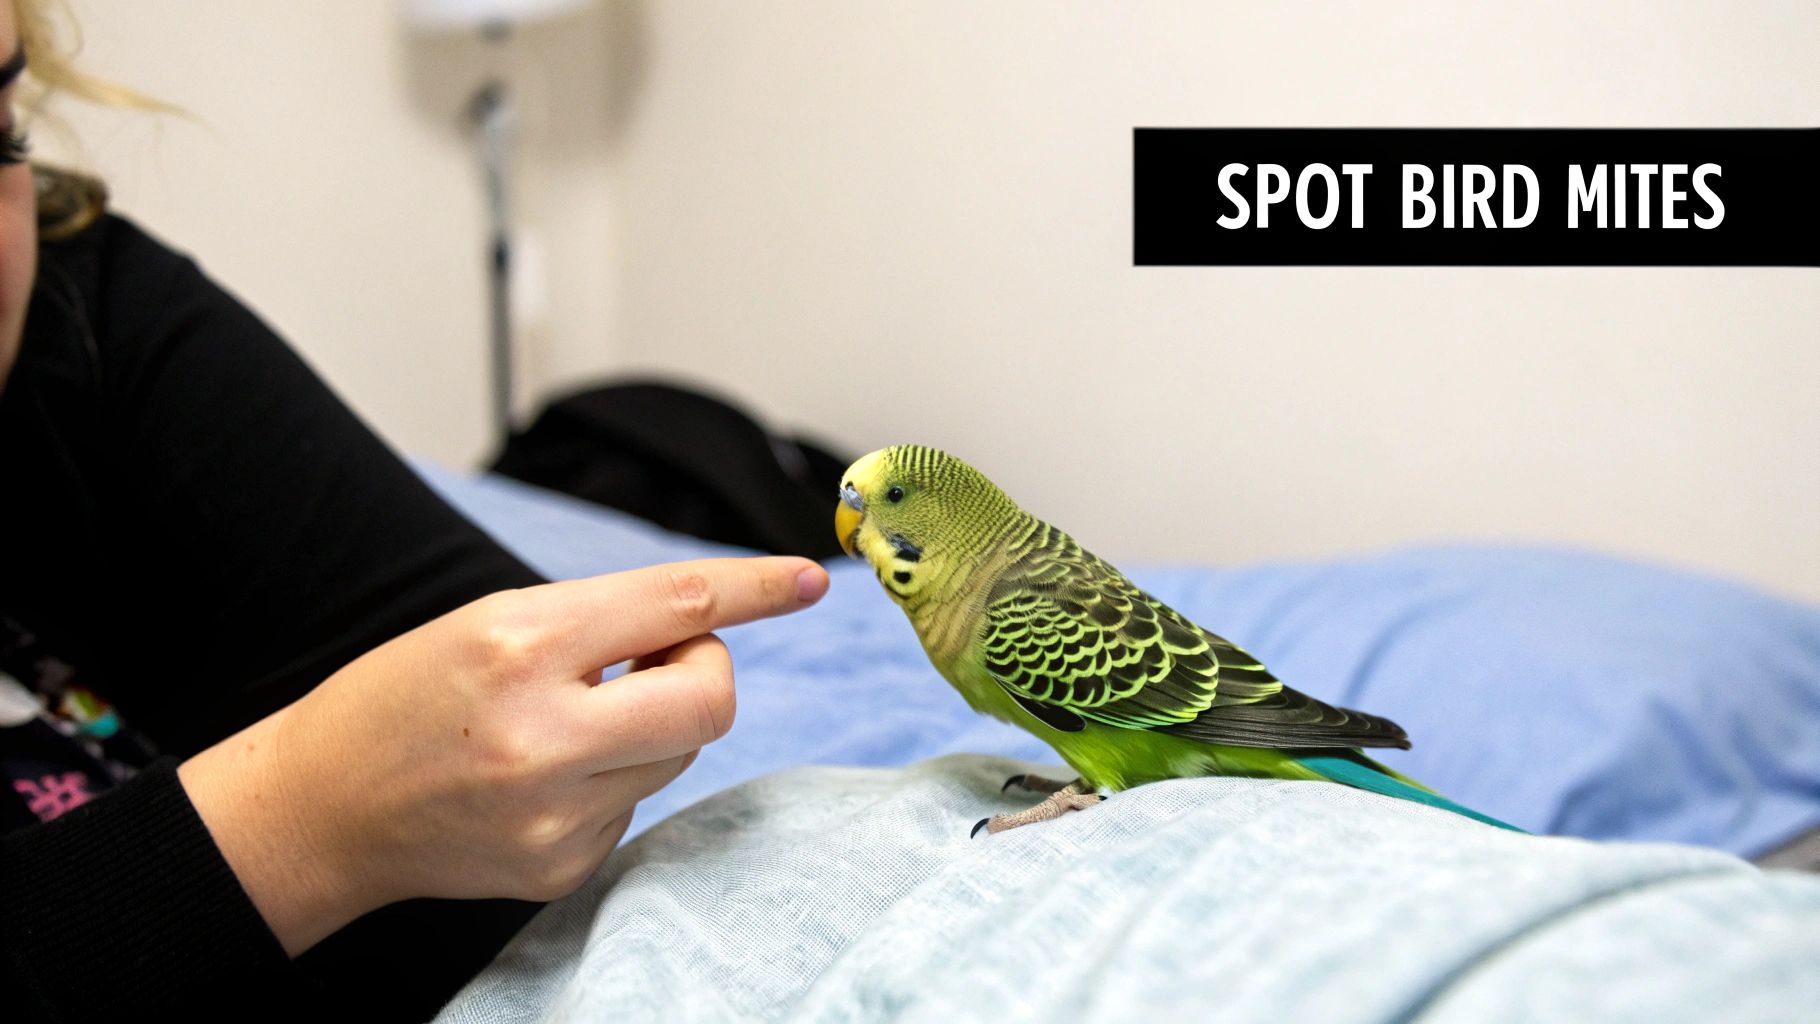
Signs of Infestation on Your Bird
Your bird is ground zero for a mite problem, so that’s the first place to look. A happy bird is a calm bird, but one suffering from mites will be obviously distressed. The key is knowing what's normal for your feathered friend, so you can spot the changes immediately. Our guide on essential care for pet birds is a great place to start for establishing that baseline.
Keep an eye out for these tell-tale signs:
- Excessive Scratching and Preening: Preening is perfectly normal, but a bird that is constantly and frantically digging at itself is likely trying to soothe some serious irritation.
- Restlessness, Especially at Night: Bird mites tend to be more active after dark. This can make your bird agitated, wake up frequently, or seem completely unable to settle down to sleep.
- Feather Damage: Look for bald patches, broken feathers, or just a generally scruffy, unkempt appearance. This is often caused by the bird's own desperate attempts to get relief.
- Skin Irritation: In bad cases, you might be able to see red, inflamed skin, particularly around the face, legs, and vent.
Evidence Within Your Home
The problem rarely stays confined to the cage. Bird mites, especially those coming from wild bird nests outside, can quickly migrate into your home looking for a new food source. This usually happens after their original host—like a baby bird—has left the nest. Unfortunately, humans are the next best thing.
You might start noticing tiny, dark specks on walls, ceilings, bedding, or near windowsills. Those are the mites. The worst sign, though, is waking up covered in bites. These bites are small, red, incredibly itchy bumps, often appearing in clusters on your arms, neck, or torso.
This isn't just a hypothetical problem; it happens right here in Australia. In a shocking case from Wollongong, New South Wales, a resident suffered hundreds of bites in just 24 hours. The tiny parasites, less than 1 mm in size, were crawling on the person's skin and walls, leaving intensely itchy red marks. It’s a stark reminder of how aggressively bird mites can affect humans.
Bird Mites vs Bed Bugs
It’s incredibly common to mistake bird mite bites for bed bug bites, which can lead you down the wrong path entirely, wasting time and money on treatments that do nothing.
Here’s a quick way to tell them apart:
- Bite Location: Bird mite bites can pop up anywhere on your body. Bed bug bites, on the other hand, often appear in a straight line or zigzag pattern on skin that was exposed while you slept.
- Pest Visibility: Bird mites move slowly and can sometimes be seen during the day, especially on light surfaces. Bed bugs are masters of hiding in cracks and usually only come out at night.
- The Source: A bird mite problem is almost always linked to a bird nest—either your pet's cage or, more commonly, a wild nest in your roof, eaves, or a nearby tree. Bed bugs have absolutely no connection to birds.
Getting the identification right is the most critical first step. Once you’re certain you're dealing with mites, you can start tackling the problem with a targeted plan.
How to Choose a Safe and Effective Bird Mite Spray
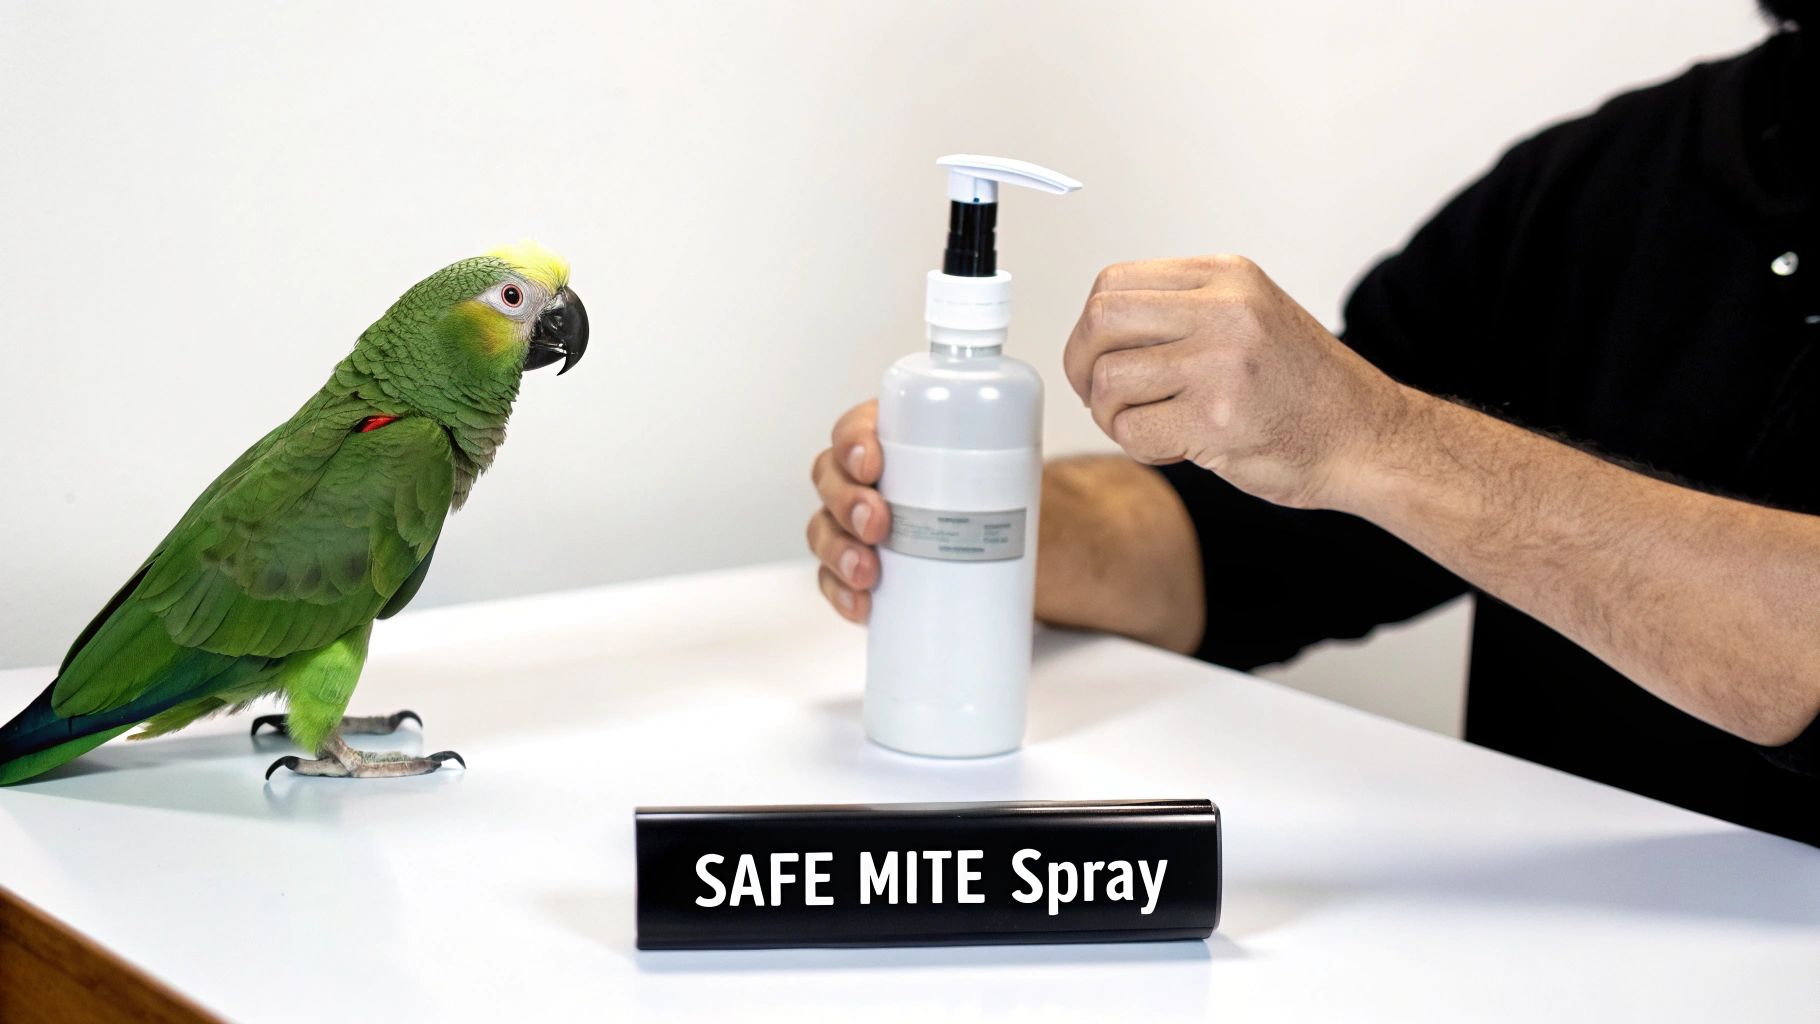
Choosing the right mite spray feels like a huge decision, because it is. Your bird has an incredibly sensitive respiratory system, so you can't just grab any old insecticide off the shelf. What’s perfectly safe for a dog or even for general household use could be lethal for your feathered friend.
This isn’t a time for guesswork. You need to get rid of the mites without harming your bird, and that means reading labels carefully and really understanding what's inside that bottle. Knowing what to look for—and what to run from—is the most important part of tackling a mite problem.
Decoding the Product Label
When you're comparing sprays, the active ingredients list is your best friend. So many products on the market are not designed for direct use on birds, and using them can have devastating results. A bird’s respiratory tract is unique; it's highly efficient at absorbing airborne substances, which unfortunately includes toxins.
It’s so important to pick products that are tough on mites but gentle on your bird and everyone else in your home. This often means looking for pet-friendly pest control solutions that are formulated with lower risks in mind. Always, always choose a product specifically labelled "avian-safe" or "for use on ornamental birds."
Bird-Safe vs Harmful Ingredients in Mite Sprays
To make the right choice, you need to know which chemicals are friend and which are foe. Some ingredients are generally considered safe when used as directed in avian-specific formulas, while others are an absolute no-go for any bird owner.
Here’s a quick-reference table to help you spot the good from the bad on a product label.
| Ingredient Type | Common Names | Safety for Birds | Important Notes |
|---|---|---|---|
| Safer Options | Pyrethrins, Piperonyl Butoxide (in synergy) | Generally safe when used as directed in avian formulas. | Derived from chrysanthemum flowers. The Piperonyl Butoxide boosts its effectiveness. Follow dosage instructions to the letter. |
| Safer Options | Ivermectin, Moxidectin | Safe under veterinary guidance. | Often found in spot-on treatments, not sprays. It's highly effective but needs a correct dose based on your bird's weight. |
| Highly Toxic | Organophosphates | EXTREMELY DANGEROUS. NEVER USE. | Includes chemicals like Malathion and Diazinon. These are neurotoxins and can be fatal to birds, even in tiny amounts. |
| Highly Toxic | Carbamates | EXTREMELY DANGEROUS. NEVER USE. | Includes Carbaryl. Just like organophosphates, these are highly toxic and should never be used on or anywhere near birds. |
| Use With Caution | Permethrin (Synthetic Pyrethroid) | Can be toxic in high concentrations. | While related to natural pyrethrins, this synthetic version is much stronger and can be harmful unless used in a very specific, diluted avian formula. |
Think of this table as your non-negotiable checklist. Sticking to the safer options is the only way to ensure your bird's treatment doesn't cause more harm than the mites themselves.
Expert Advice: Never, ever use a flea and tick spray designed for cats or dogs on your bird. These products often contain high concentrations of permethrin or other chemicals that can cause severe neurological damage or even death in birds.
Where to Find Trusted Products in Australia
Once you know what you’re looking for, the next step is finding a reliable supplier. Not all pet stores have staff with proper avian training, so it’s smart to get your products from people who specialise in birds.
Here are your best bets:
- Your Avian Veterinarian: This is hands-down the safest and most recommended source. Your vet can give you a prescription-strength, effective treatment and provide precise instructions tailored to your bird's species, age, and health.
- Reputable Australian Online Pet Suppliers: Look for online stores that have a clear focus on birds. They're far more likely to stock high-quality, avian-safe products from trusted brands. Always check reviews and make sure they provide clear ingredient information.
- Specialist Bird or Pet Shops: A physical store with a dedicated bird section and knowledgeable staff can be a great resource. Just be sure to ask them specifically for a mite spray that is safe for direct application onto birds.
Remember, dealing with mites is just one piece of the parasite puzzle. If you're also concerned about other pests like worms, it's critical to use the correct medication. You can learn more in our guide on finding the right wormer for birds.
Ultimately, choosing a safe bird mite spray comes down to careful research and putting your bird's health first. If you’re ever in doubt, just wait and call your avian vet. A quick phone call is a tiny price to pay for your bird's safety and your own peace of mind.
Applying Bird Mite Treatments Correctly and Safely
Having the right bird mite spray is a great start, but how you use it is what really matters. This is where safety and success come together. A calm, methodical approach is the only way to get rid of the pests without stressing your bird or making things worse.
This isn't just about spraying and hoping for the best. It's a careful process that means preparing your bird, the environment, and yourself. The goal is to be both gentle and thorough. Birds have incredibly sensitive respiratory systems, so your top priority has to be protecting them from inhaling the spray while still making sure the treatment works.
Preparing for a Stress-Free Treatment
Before you even open the bottle, your first job is to create a safe, calm space. A stressed bird is much harder to handle and more prone to health issues, so getting this right is everything.
Start by setting up a temporary, clean enclosure. This could be a small travel cage or a freshly sanitised spare cage. Pop it in a completely different room—one that's well-ventilated but free from draughts. Make sure it has fresh water, a little bit of food, and a familiar perch to make your bird feel more at home.
Expert Tip: To keep your bird calm, speak in a gentle, reassuring voice the whole time. You could even play some soft, familiar music in the background. Your relaxed attitude sends a signal to your bird that everything is okay, which can make the whole experience much less traumatic.
The Correct Spraying Technique
With your bird safely relocated, it's time to focus on the treatment. Always read the product instructions carefully, as every spray is a little different. As a general rule, you're aiming for a very light, fine mist, not a drenching spray.
Hold the spray bottle at the distance recommended on the label, which is usually about 30-40 centimetres away from your bird. Lightly mist its body, paying special attention to the areas under the wings and around the vent. Mites absolutely love hiding in these warm, protected spots.
Crucially, you must avoid spraying your bird’s head, face, and especially its eyes. To treat these sensitive areas, lightly spray a small amount of the product onto a cotton ball or a soft cloth. Then, gently dab it onto the feathers around the head, being extremely careful to stay well away from the eyes, nares (nostrils), and beak.
A Full Environmental Assault Is Non-Negotiable
Treating your bird is only half the battle. If you don't simultaneously get rid of the mites in their environment, you'll be dealing with a fresh infestation within days. Mites don't just live on your bird; they infest the cage, perches, toys, and even the surrounding area.
Your cleaning and treatment plan needs to be meticulous:
- Empty and Disassemble the Cage: Get your bird out and remove absolutely everything—perches, food and water dishes, and all the toys. This is where easy-to-clean toys really shine, as materials like stainless steel can be properly sanitised without absorbing chemicals.
- Scrub Everything: Use a bird-safe disinfectant to scrub the cage bars, base, and every single accessory. Pay close attention to the little crevices and joints where mites love to hide. Rinse everything thoroughly with water to remove any cleaning residue.
- Treat the Clean Cage: Once the cage and accessories are completely dry, lightly spray them with the bird mite spray according to the product directions. Let them air out completely in a well-ventilated area until there is no lingering smell.
- Clean the Surrounding Area: Mites can easily crawl from the cage to nearby furniture, curtains, and carpets. Use a vacuum cleaner with a HEPA filter on all surrounding surfaces, and immediately dispose of the vacuum bag or empty the canister outside. Wash any nearby fabrics, like cage covers or curtains, in hot water.
Only once the cage and all its contents are completely dry and odour-free should you put it back together and return your bird. This comprehensive approach is the only way to break the mite life cycle and set your bird up for a pest-free recovery.
Finding and Eliminating the Mite Source for Good
Spraying your bird and their immediate environment is a critical first step, but it’s often just putting a bandage on the problem. If you want to stop the cycle for good, you have to find and get rid of the source of the infestation. More often than not, that source is a wild bird nest on or very close to your property.
For many Australian homeowners, a mite problem kicks off when a wild bird's nest is abandoned. The young birds fledge and take off, leaving thousands of hungry mites behind without a meal ticket. Desperate for their next feed, they migrate from the nest, squeezing through tiny cracks and crevices into your home. Suddenly, your living space is their new hunting ground.
This whole process has a clear seasonal rhythm. Bird mites hit hardest in Australia during spring and early summer, which lines up perfectly with bird breeding season, especially from November to March. During this time, species like the domestic starling mite (Ornithonyssus bursa) go into overdrive. You can get a better sense of how these pests operate from SA Health's guide on bird mite prevention.
Locating the Offending Nest
Finding the source is a bit like detective work. You’ll need to do a thorough inspection of your home's exterior, keeping an eye out for any signs of nesting activity. In Australia, common culprits like pigeons, starlings, sparrows, and Indian mynas love to build their homes in sheltered spots.
Pay close attention to these potential mite hotspots:
- Roof Spaces and Eaves: Check right under the eaves of your roof, in the gutters, and inside any attic or roof cavity you can access.
- Wall Cavities and Vents: Look for nests tucked inside vents for clothes dryers or kitchen fans, or within any gaps in your brickwork.
- Sheds and Garages: These outbuildings provide the perfect quiet, sheltered spot for birds to raise a family.
- Air Conditioning Units: The ledges and cavities around outdoor AC units are another favourite nesting location.
- Dense Trees and Vines: Any thick greenery growing right up against your house can easily hide a nest.
Once you’ve found the nest, you have to be careful with its removal. These things can be absolutely teeming with mites, not to mention bacteria and other parasites.
Safe Nest Removal Procedures
Before you even think about touching anything, you need to protect yourself. Always wear long sleeves, disposable gloves, and a good mask (like a P2 or N95) to avoid breathing in dust or getting mites on your skin.
When you're geared up, carefully place the entire nest into a heavy-duty plastic bag and seal it up tight. Get it into your outdoor bin straight away. But you're not done yet. The area where the nest was will still be crawling with mites. You’ll need to treat that spot with a suitable insecticide labelled for outdoor use, or even a professional-grade miticide, to kill off any stragglers.
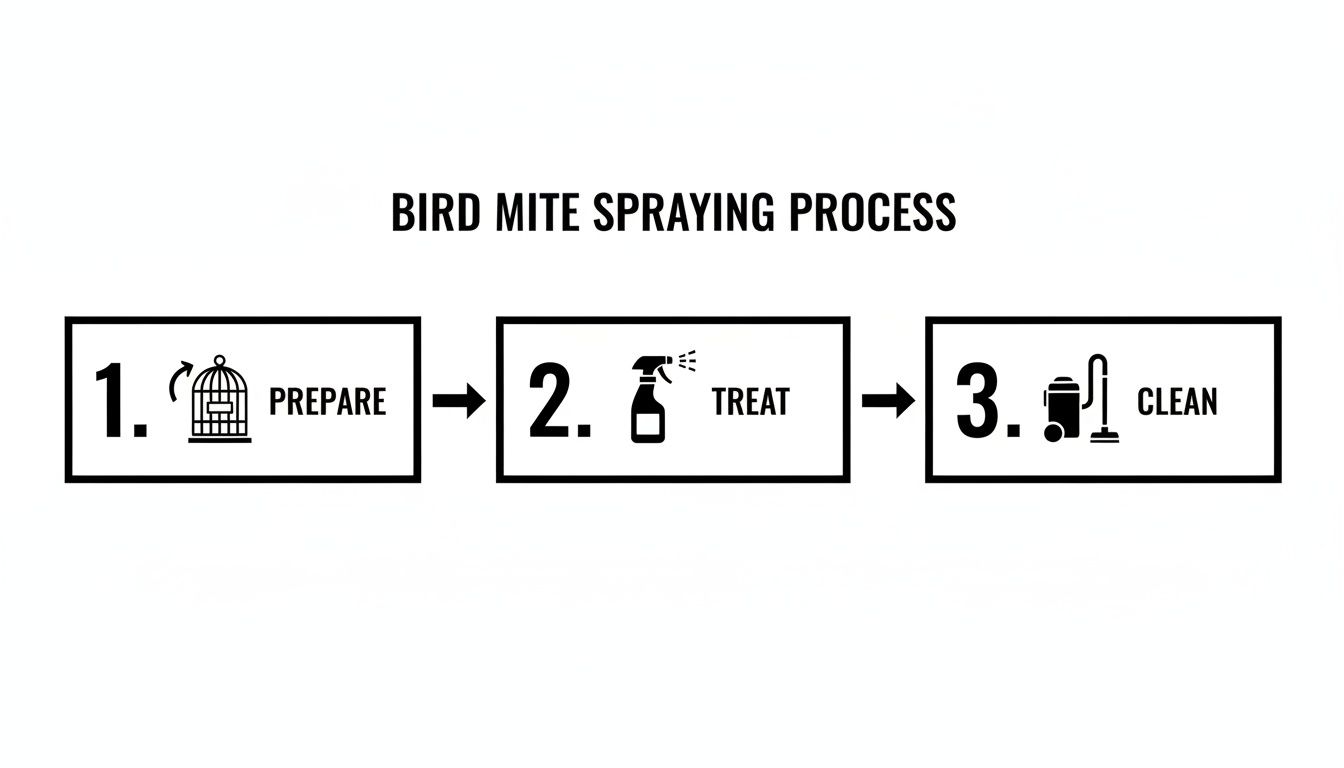
This simple breakdown shows how treating the bird and cleaning the environment are two sides of the same coin—you can't succeed without doing both.
Sealing Up Entry Points to Prevent a Recurrence
Getting rid of the nest solves the immediate problem, but you need to make sure it doesn't just happen again next season. The final, and most crucial, step is to bird-proof your home. This just means blocking off all the potential entry points that birds might use for future nesting.
A Proactive Checklist for a Mite-Free Home: Once you've cleaned the area, go on a mission to seal up your home. Use wire mesh or bird-proofing spikes to block access to eaves and vents. Repair any holes in your roof or walls. Trim back any trees or vines that are touching your house, removing the 'bridge' that birds use to get to it. This one-time effort can save you from a recurring nightmare.
Taking these steps turns a frustrating, repeating issue into a one-and-done fix. It’s hands-down the most effective way to protect both your pet bird and your family from future invasions. If you happen to maintain a larger setup, you might find our advice on designing an outdoor bird aviary useful for long-term prevention.
Knowing When to Call Your Avian Veterinarian
While a good bird mite spray is a great tool for small problems, sometimes a DIY approach just isn’t enough—or even safe. Part of being a responsible bird owner is knowing your own limits and recognising when it’s time to bring in a professional.
An avian vet has the right tools and deep knowledge to diagnose and treat your bird properly, taking all the dangerous guesswork out of the picture. What might look like a simple case of mites could actually be a sign of something more serious, or the infestation may have already done significant harm.
Red Flags That Demand a Vet's Attention
If you spot any of the following signs, stop what you're doing and get your bird to an avian vet straight away. These are not 'wait and see' situations. They're clear signals that your bird is in real distress and needs expert medical help.
Keep a close eye out for these critical symptoms:
- Significant Feather Loss: This isn’t about normal moulting. I’m talking about large bald patches or a generally ragged, 'moth-eaten' look that points to a severe, long-term infestation.
- Unusual Lethargy or Weakness: If your normally chatty, active bird is just sitting listlessly at the bottom of the cage, seems weak, or has lost interest in food and water, it’s a massive cause for concern.
- Pale Gums or Beak: Mites are parasites that feed on blood. A heavy infestation can lead to anaemia, a dangerous condition where the bird has lost too much blood. Pale colouring around the beak is a classic sign.
- Visible Skin Sores or Scabs: All that scratching can lead to open wounds, which are prime spots for infection. Any broken or bleeding skin needs a vet’s assessment, period.
A severe mite infestation can seriously weaken a bird's immune system, leaving them wide open to secondary bacterial or fungal infections. A vet can tackle both the parasites and any resulting health issues, giving your bird a much better path to recovery.
When Your Treatments Just Aren't Working
So you’ve done everything by the book. You’ve used a bird-safe spray, deep-cleaned the cage, and sanitised the entire area, but those pesky mites just keep coming back. A persistent infestation often means you’ve missed something—maybe an undiscovered wild nest nearby—or the mites have built up a resistance to the product you’re using.
This is your cue to escalate. An avian vet can prescribe much stronger, prescription-grade medications like Ivermectin, which are far more effective than anything you can buy over the counter. They'll also give you a definite diagnosis, making sure you're not battling the wrong pest entirely.
For particularly stubborn mite problems, getting an expert to assess the situation right in your home can be a game-changer. It might be worth exploring options for finding a house call vet near you for in-home pet care.
What to Expect During a Vet Visit
A trip to the avian vet for a suspected mite issue is usually pretty straightforward. Your vet will probably start with a physical examination and might take a small skin scraping or feather sample to look at under a microscope.
This lets them confirm the presence and type of mites, ruling out other skin conditions that can look similar.
From there, they’ll recommend a specific treatment plan. This could involve a topical cream, an oral medication, or even an injectable solution, all carefully dosed for your bird’s exact weight and species. Putting your trust in an avian vet is the surest way to get your bird the safest, most effective treatment possible and back on the road to a full recovery.
Common Questions About Bird Mites and Sprays
Finding yourself in the middle of a mite infestation is stressful, and it's bound to leave you with a heap of questions. As a bird owner, your top priority is always the safety and wellbeing of your feathered companion. To help you get through this with confidence, we’ve put together answers to the most common questions we hear from Australian bird owners.
Can I Use a Natural or DIY Bird Mite Spray?
It’s completely normal to reach for a natural solution first, but this is one area where you need to be extremely careful. The word "natural" definitely doesn't automatically mean "safe" for our birds. Many common essential oils—like tea tree, cedarwood, and eucalyptus—are actually highly toxic to their incredibly sensitive respiratory systems and can lead to severe illness or even death.
While a DIY remedy might sound like a good idea, the safest bet for anything you apply directly to your bird is always a commercially made, avian-specific bird mite spray that's been properly tested. It's much safer to focus non-chemical efforts on prevention and keeping their environment spotless, rather than mixing up your own concoctions.
Expert Advice: Please, always chat with your avian vet before trying any DIY spray. A bird's respiratory system is so fragile that a well-meaning home remedy can go wrong very quickly. A professional can point you towards options that are proven to be both safe and effective.
How Often Should I Treat My Bird for Mites?
The honest answer is: it really depends on the situation.
For indoor birds that have zero contact with wild birds, preventative spraying usually isn't necessary and we don't recommend it. Over-treating your bird with any kind of chemical, no matter how safe it's meant to be, can do more harm than good.
If you're dealing with an active infestation, your avian vet will give you a clear treatment schedule. This usually involves one application, followed by a second treatment 7 to 10 days later. This timing is critical—it’s designed to catch the next wave of mites that have hatched since the first round, breaking their life cycle for good. Your best tool here is vigilance. Keep a close eye on your bird, maintain a squeaky-clean environment, and only use a spray when you've confirmed there’s a problem or your vet advises it.
Can Bird Mites Infest My Entire House?
Yes, they can, but it’s crucial to understand where they're coming from. A full-blown house infestation is almost always caused by a wild bird nest in or on your house—not by your pet bird. The mites that live on pet birds, like scaly face or leg mites, tend to stick to their host.
The mites that seem to take over a home are the ones fleeing an abandoned nest from pigeons, starlings, or Indian mynas. Once the baby birds fly the coop, thousands of mites are left without a food source and start a desperate search for a new meal. They creep into your living space through tiny cracks and vents, and that's when you start seeing them on walls, furniture... and getting bitten yourself. A whole-house problem is a massive red flag pointing to an external source that you have to find and get rid of.
You can check out more common queries on our Frequently Asked Questions page.
How Long Do Bird Mites Live Without a Bird Host?
This is what makes them so persistent and incredibly frustrating to get rid of. While bird mites need a blood meal from a bird to reproduce, they are surprisingly tough. Depending on the temperature and humidity, they can survive for several weeks, and in some cases, up to a few months without a host.
During this time, they're hiding out in carpets, furniture, bedding, and even in wall cracks, just waiting for a new host (including you) to pass by. This impressive survival skill is exactly why you need a multi-pronged attack. Just treating the bird isn't enough. You have to sanitise the cage, deep-clean the room, and—most importantly—eliminate the source nest to completely get on top of the problem.
Keep Reading
- A Guide to the Best Stainless Steel Bird Toys
- Acrylic vs Plastic Bird Toys Is One Better Than the Other
- The Ultimate Guide to Foraging Toys for Birds
Disclaimer Summary: The information in this article is general in nature and may include external links or resources not created by Lou Lou Bells Bird Toys. Every bird is unique, so we encourage you to seek personalised advice from your own veterinarian or avian specialist. For full details, please read our complete disclaimer here.